Pages

Sunday, March 3, 2013

French Onion Soup

French Onion Soup is Angie’s favorite and part of the joy of cooking is not necessarily cooking what you want to eat, but instead making cooking what others enjoy. So my goal since making my first FOS a couple of years ago was to make a high-end restaurant quality FOS that I could make for Angie at home. I took a few tries, but I finally got it!

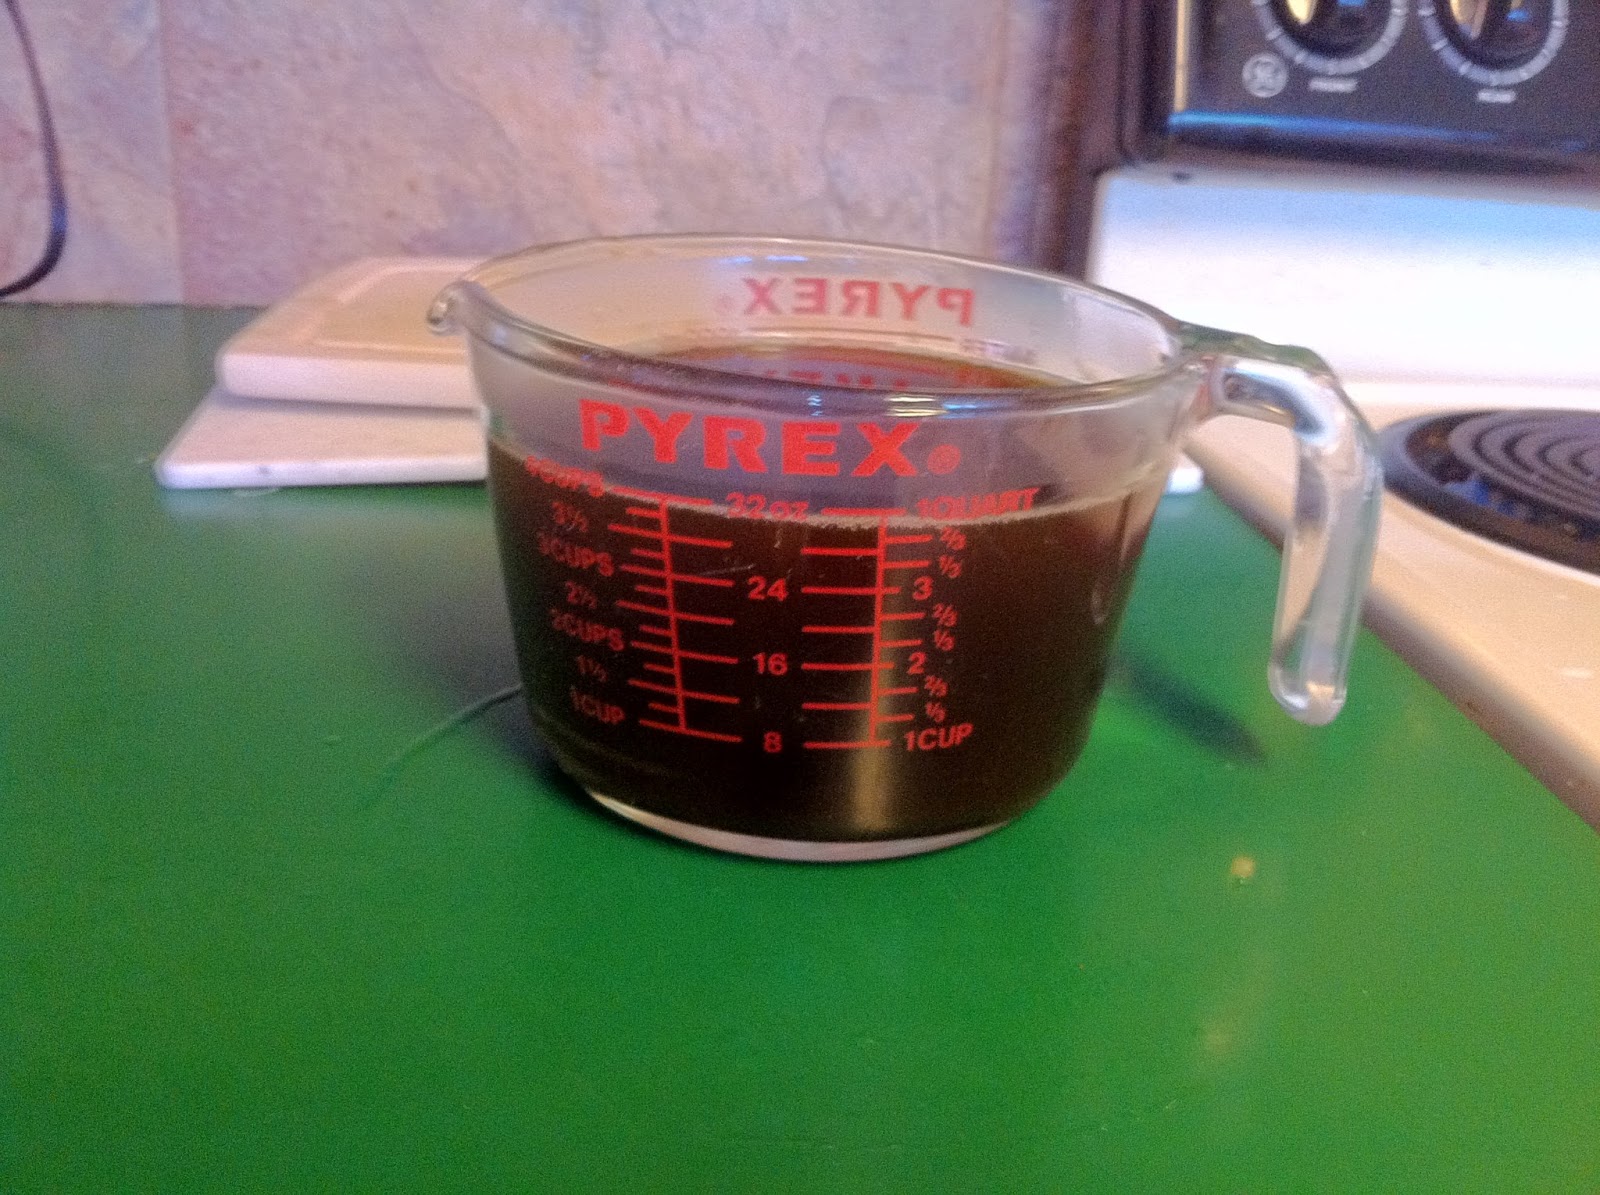
The biggest lesson I learned from trial and error is the stock you use is everything! I will start by just stating that if you are going to use store bought stock, don’t bother – just go out to a good restaurant and order it. I use a bold beef stock (see my Beef Stock post). Depending on how bold it is (milk chocolate vs. dark chocolate color), I either use it as is, or cut it with a 75% beef stock – 25% chicken stock (also homemade) mix. With a good stock, the rest is pretty easy!

Ingredients (3 servings … actually 2, but Angie as another bowl the next day):
  • 1 quart of stock
  • 4 medium to large yellow onions
  • 1/4 cup of dry sherry
  • 2 bay leaves
  • 1 bundle of thyme
  • 5 Oz of Gruyere cheese
  • 1 baguette (or French bread)
  • Kosher salt
  • Chives (optional)

Special Equipment:
  • Oven safe individual serving soup crocks
Slice (about 3/8") and separate the onions. Some recipes you might find tell you to thinly slice the onions, but I find that when thinly sliced and then cooked down the onions become to mushy. This is going to look like a mountain of onions, but don’t worry they will cook way down!

Because I do not make huge batches of soup, I find that I need to use a large saut̩ pan to cook down the onions because they will not fit in the sauce pan I use for the soup. I you are making a large batch in a large soup or stock pot, you can likely cook down the onions in the same pot. Coat the bottom of the pot or pan with a good olive oil and then over medium heat, cook down the onions to past just sweating them down, but stopping short or caramelizing Рit helps to cover the onions during the first part of this step. Onions contain a lot of sugar, so salt the onions generously while they are cooking down. You almost cannot over salt that this point. Some recipes will tell you to caramelize the onions, but once again there is a texture issue. The onions are going to simmer in the soup for about an hour, so if you go all the way to caramelized, you end up with onion mush in the end product. What you want is for the onions to have some body and texture (tooth feel). Once you have cooked down the onions, add the sherry and allow it to reduce by half.

Now combine the onions, stock, bay leaves and thyme (both in a bouquet garni) in the same pot (I use a 3 Qt sauce pan), bring it to a boil, reduce it to a simmer, then allow it to simmer partially covered for 1-hour. You should taste it once in a while and add salt as needed. The onions will continue to release sugar so don’t be perplexed of you seem to always be adding salt!

While the soup is simmering, slice the baguette into ½ to ¾" slices (2 per serving), lightly brush each with olive oil, then toast under the broiler until golden brown.

Once the soup is done, fill each crock about ¾ full (ensuring you get both liquid and lots of onions), add two toasted baguette slices to each crock, then fill each crock up with more soup.

Top each filled crock with about 1.5 Oz of grated cheese, and place the crock under the broiler until the cheese is melted and bubbly, with just a bit of a burn. Garnish with chives and enjoy!

Sunday, February 17, 2013

Bold Beef Stock

I was considering blogging about French Onion Soup, but then I realized that before you can make a great French Onion Soup you need a hearty Beef Stock. Unlike the chicken and the egg paradox, this one is easy – the stock comes first!

Time – 24 hours. Prep and processing time about 3 hours, cooking time about 7 hours, non-active time about 14 hours.
 
Yield – between 3 and 4 quarts.
 
Ingredients:
  • 4-5 pounds of beef marrow bones (get the ones that are split or cut in about 2” sections)
  • 1 lb of beef stew meat (the cheap stuff)
  • 2 medium to large carrots
  • 2 medium to large stalks of celery (with as many leaves as possible)
  • 2 medium parsnips
  • 1 large or 2 medium yellow onions
  • 4-5 cloves of garlic
  • 4-5 bay leaves
  • 1 small can of tomato paste
  • A large bunch of thyme
  • ¼ tsp of whole black pepper corns (about 20)
Important – NO SALT – You salt for the recipe requirements when you actually use the stock.
 
The first step is roasting the bones. This is critical because roasting is what brings out the flavor! Start by brushing one marrow exposed side of the bones with tomato paste – the acid in the tomato paste helps break down the collagen in the marrow so that it can be released into your stock. Place the bones on a roasting tray, brushed side up, along with the stew meat into a pre-heated 425 degree oven for 30 minutes.


While the bones and meat are roasting quarter your onion(s); split and cut the carrots, parsnips, and celery into about 2 – 3 inch chunks; and smash the garlic. There is no need to clean and peel and these aromatics, just toss it all in as it all gets strained out later.


After your bones have roasted for 30 minutes, remove them from the oven, turn them over, brush the newly exposed side with tomato paste, lay the aromatics (less the celery leaves) on top, and then put the pan back in the oven for another 30 minutes.
 
When the bones have finished roasting, transfer the contents from the roasting tray to a large stock pot; fill with water to about 1 inch over the bones; and add the garlic, thyme, bay leaves, pepper corns, and reserved celery leaves to the pot. Deglaze the tray you roasted the bones on with a little bit of water, and also add the deglazed fond to the pot. Bring the contents of the pot to a low boil, and then reduce to simmer, partially cover, and allow the contents to simmer for at least 6 hours.

Here is a decision point for you – add or do not add water lost during the simmering. There are two schools of thought here. Adding water to make up for loss will increase your stock yield, but result in a lighter (less bold) stock. Not adding water will result in a darker bold stock. Either is fine in my opinion because if it is too bold you can cut it with water when you use it, and if it is too lite you and reduce it when you use it. I choose the bold method because it cuts down on the amount of freezer storage space required. If I had a bigger freezer I would probably make it a bit lighter.
 
After simmering for at least 6 hours you need to flash cool the stock. This is important for sanitation reasons. If you just take the stock off the heat and let it cool naturally, the stock will be in food temperature danger zone (40-140 F) for an extend period of time. I have two methods of flash cooling. In the summer I place the pot (uncovered) into an ice bath in the kitchen sink, and usually change the ice bath water at least once (after about 30 min). In the winter I just put it outside – in snow if available). My last batch we had no snow, but the temperature outside was in the single F digits, so it was fine!
 
After you have flash cooled to at least room temperature, you want to do your first straining. In this first straining you are only removing the big chunks so you can do this through a medium mesh metal strainer or colander. You can also just use tongs to pick out everything that is packable. I recommend the course strain - it is not a vital step at this time, but it makes the next day easier.
Once the initial training is done cover the stock and set it in refrigerator (summer) or in a non-heated but not frozen garage or porch (winter), and let it rest overnight. Be careful about putting it outside to cool and rest for extended periods. Where I live raccoons and coyotes make overnight outdoor storage a bad choice. If you want to use the outside for overnight and are concerned about animals, consider putting it in your car – it’s covered and won’t stink the car up.
 
The next day you will find a solidified layer of fat on top of the pot that is easily removed. You want to remove and discard most of this, but leaving a little behind is ok because you do not want your stock to be 100% fat free – Fat has flavor!


After the excess fat has been removed, it is now time to start the real straining. Before you strain I recommend reheating the stock to just about 100 degrees to melt and redistribute the remaining fat back into the stock (fat has flavor and adds the silky texture so you want some to remain). I do my first strain through four layers of cheese cloth. You need to be patient as the cheese cloth does plug up and may need to be changed during the process. It is during this straining that you are going to remove A LOT of nasty slimy gunk.


You’re almost there! After the first pass through cheese cloth, strain the stock a second time through four layers of cheese cloth. I usually find that this pass through the cheese cloth is enough (and it does not plug up), but if you are still seeing too many particulates for your liking, you can repeat cheese cloth straining as many times as you wish.


Your stock is complete and ready for use and/or storage. I typically store mine in doubled 1 quart freezer bags containing 1 or 2 cups each (I mix it up). I find using the freezer bag storage method to be space efficient as you can lay them flat and stack them in the freezer. One and two cup plastic containers available at most grocery stores is also a great option.


Now you have a bold beef stock ready to be turned into French Onion Soup, which will be the topic of my next post!

Wednesday, January 23, 2013

Paleo Bruchetta

A coworker of mine, who I shall simply refer to as M'Lady to protect her identity, has embarked with her family on the Paleo Diet adventure. After reading up on what the Paleo Diet is, I thought it would be fun to invent a Paleo recipe just for her. It took two tries to get it right. So here you go M'Lady!

Recipe as written makes 6, scale up as appropriate.
  • 1 medium vine ripened tomato cut in ¼” dice
  • 2 TBLS of  1/8” diced red onion
  • 1 small clove of garlic finely minced
  • 1/4 lemon juiced
  • 2 large or 4-5 small fresh basil leaves chiffonade cut
  • ¼ tsp of red chili pepper flakes
  • ½ TBLS of EVOO
  • Small pinch of salt
  • 6 ¼” slices of English Cucumber, sliced with a heavy bias (steep angle)
Combine all of the ingredients (except the cucumber) in a glass bowl, cover and allow about 1 hour for the flavors to meld.
 
Spoon a heaping TBLS of the topping onto each cucumber slice.
 
Non-Paleo addition - sprinkle a little grated parmesan on top :).
 
And there you have it - So simple even a caveman can do it!


Sunday, January 13, 2013

Stir Fry Sauce

My daughter bought me a really awesome wok for Christmas, along with a notice that she was coming home shortly after Christmas and expected to see what I could do with it. This posed a bit of a problem because with the exception of rice, I had never cooked any Asian food before. Mom gave me a hint on the direction to go - Thai food.

My first order of business was to Google Thai food recipes and one of the first things I noticed was that the majority of the dish recipes call of Stir Fry Sauce, and many simply list it as an ingredient for the main dish with a notation to "See Stir Fry Sauce recipe below."
 
After reviewing several different Stir Fry Sauce recipes, I determined that while there are differences, most have two things in common.  They are made up of equal parts of all listed ingredients and include at least the following:
  • Soy Sauce
  • Fish Sauce
  • Lime Juice
  • Sugar (usually light brown)
I started my Thai adventures using this basic Stir Fry Sauce recipe to make a simple dish of stir fried shrimp, onions, peppers, and cherry tomatoes. It actually turned out good!

TIN CHEF TIP: I had never touched Fish Sauce before but I remembered a question from the most recent season of Master Chef - "What is Fish Sauce and why does it smell like death?"  I can confirm that it smells like death! While preparing your Stir Fry Sauce - DO NOT hold the Fish Sauce bottle up to your nose and smell it! If you do, your craving for Stir Fry will be instantly quashed and replaced with a craving for Hamburger Helper.

With one stir fry success under my belt, it was time to step it up a notch so for my next attempt I decided to do Thai Spring Rolls and Stir Fried Baby Bok Choy. The surprising thing about the two recipes I used was that they were from the same author, but each contained a different Stir Fry Sauce recipe. Both recipes also contained a chef's tip - make extra and store in a glass container for later use. That sounded like a great tip, but having my refrigerator full of glass containers containing different Stir Fry Sauces did not seem practical so I decided to review several recipes, pick a list of ingredients, and come up with one of my own.


This recipe will make approximately 1 cup of Stir Fry which is enough for 3 or 4 woks of stir fry.
  • 4 TBLS of Soy Sauce
  • 4 TBLS of Fish Sauce
  • 4 TBLS of Oyster Sauce
  • 4 TBLS of Thai Chili Sauce
  • 4 TBLS of Fresh Lime Juice (2-3 limes)
  • 4 TBLS of Light Brown Sugar
  • 4 Cloves of Minced Garlic
 
 
I used this recipe for both the Spring Roll filling and Stir Fried Baby Bok Choy, and both turned out great! I have enough left over for at least one, maybe two dishes, which sets me up perfectly for Thai food on Fast Food Monday!