Time – 24 hours. Prep and processing time about 3 hours, cooking time about 7 hours, non-active time about 14 hours.
Yield – between 3 and 4 quarts.
Ingredients:
- 4-5 pounds of beef marrow bones (get the ones that are split or cut in about 2” sections)
- 1 lb of beef stew meat (the cheap stuff)
- 2 medium to large carrots
- 2 medium to large stalks of celery (with as many leaves as possible)
- 2 medium parsnips
- 1 large or 2 medium yellow onions
- 4-5 cloves of garlic
- 4-5 bay leaves
- 1 small can of tomato paste
- A large bunch of thyme
- ¼ tsp of whole black pepper corns (about 20)

Important – NO SALT – You salt for the recipe requirements when you actually use the stock.
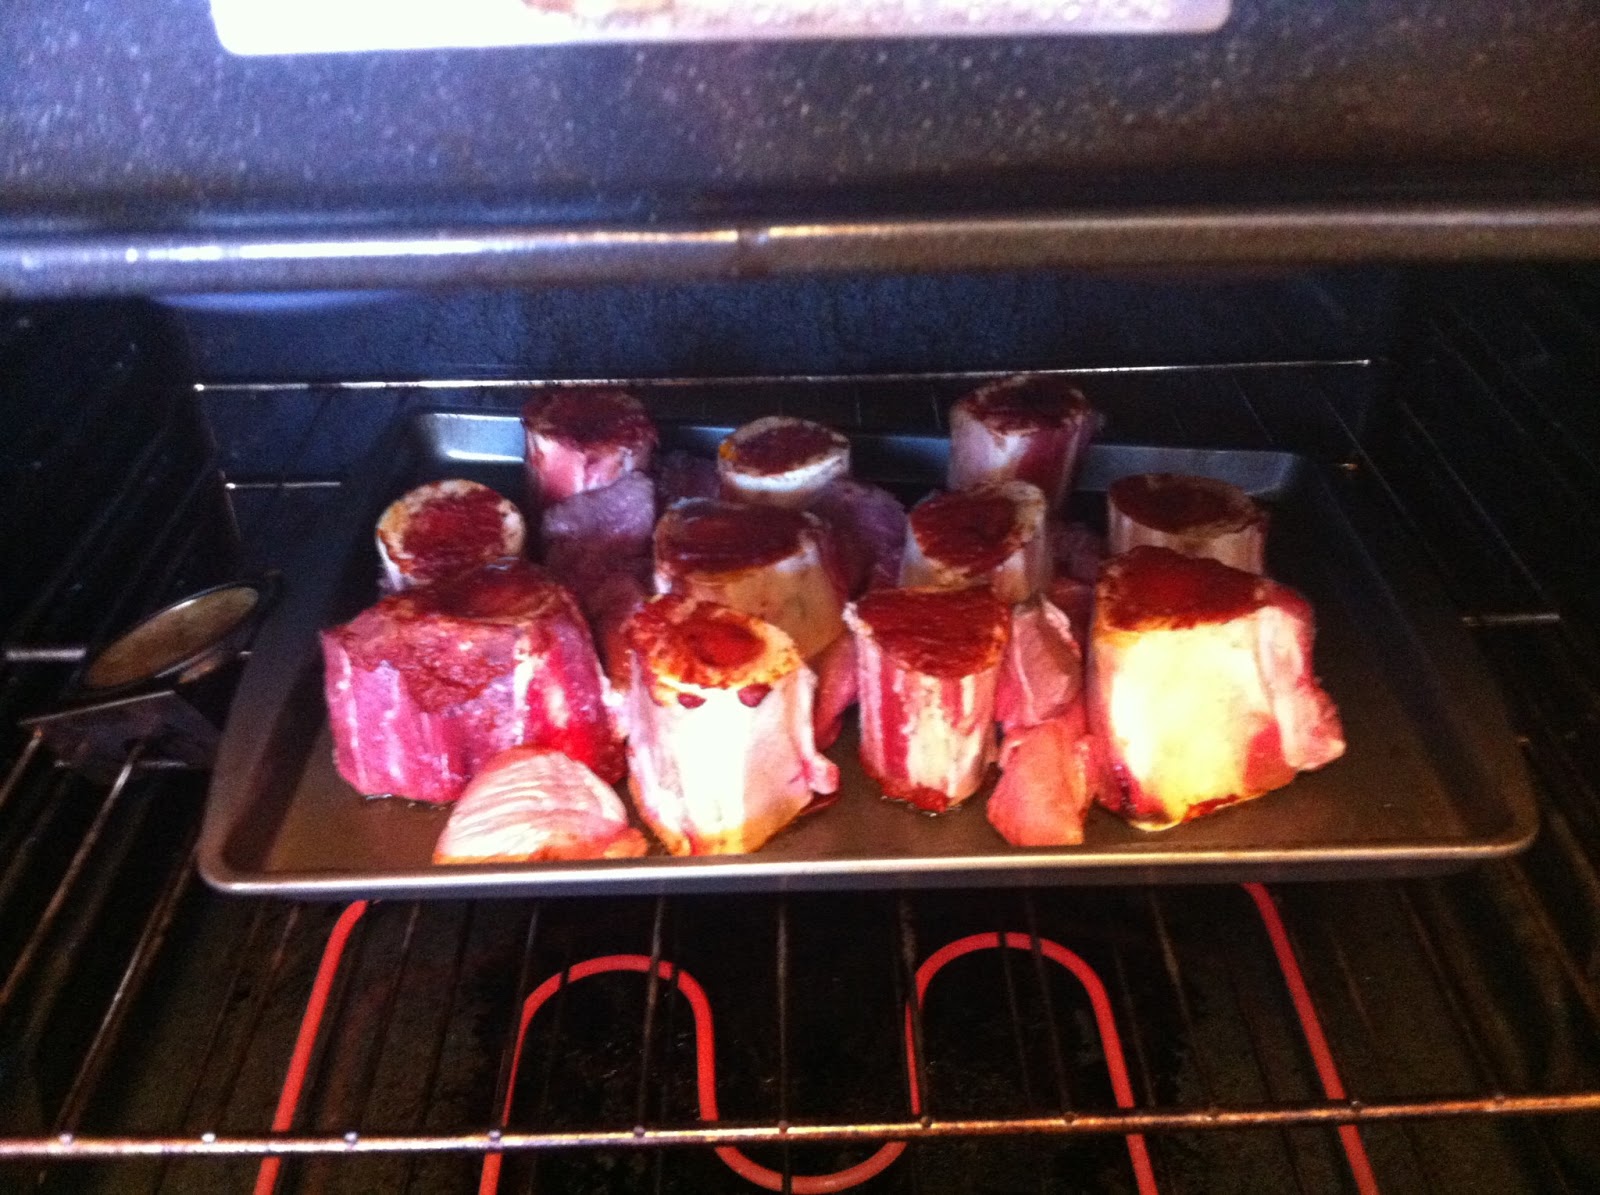 The first step is roasting the bones. This is critical because roasting is what brings out the flavor! Start by brushing one marrow exposed side of the bones with tomato paste – the acid in the tomato paste helps break down the collagen in the marrow so that it can be released into your stock. Place the bones on a roasting tray, brushed side up, along with the stew meat into a pre-heated 425 degree oven for 30 minutes.
While the bones and meat are roasting quarter your onion(s); split and cut the carrots, parsnips, and celery into about 2 – 3 inch chunks; and smash the garlic. There is no need to clean and peel and these aromatics, just toss it all in as it all gets strained out later.

When the bones have finished roasting, transfer the contents from the roasting tray to a large stock pot; fill with water to about 1 inch over the bones; and add the garlic, thyme, bay leaves, pepper corns, and reserved celery leaves to the pot. Deglaze the tray you roasted the bones on with a little bit of water, and also add the deglazed fond to the pot. Bring the contents of the pot to a low boil, and then reduce to simmer, partially cover, and allow the contents to simmer for at least 6 hours.
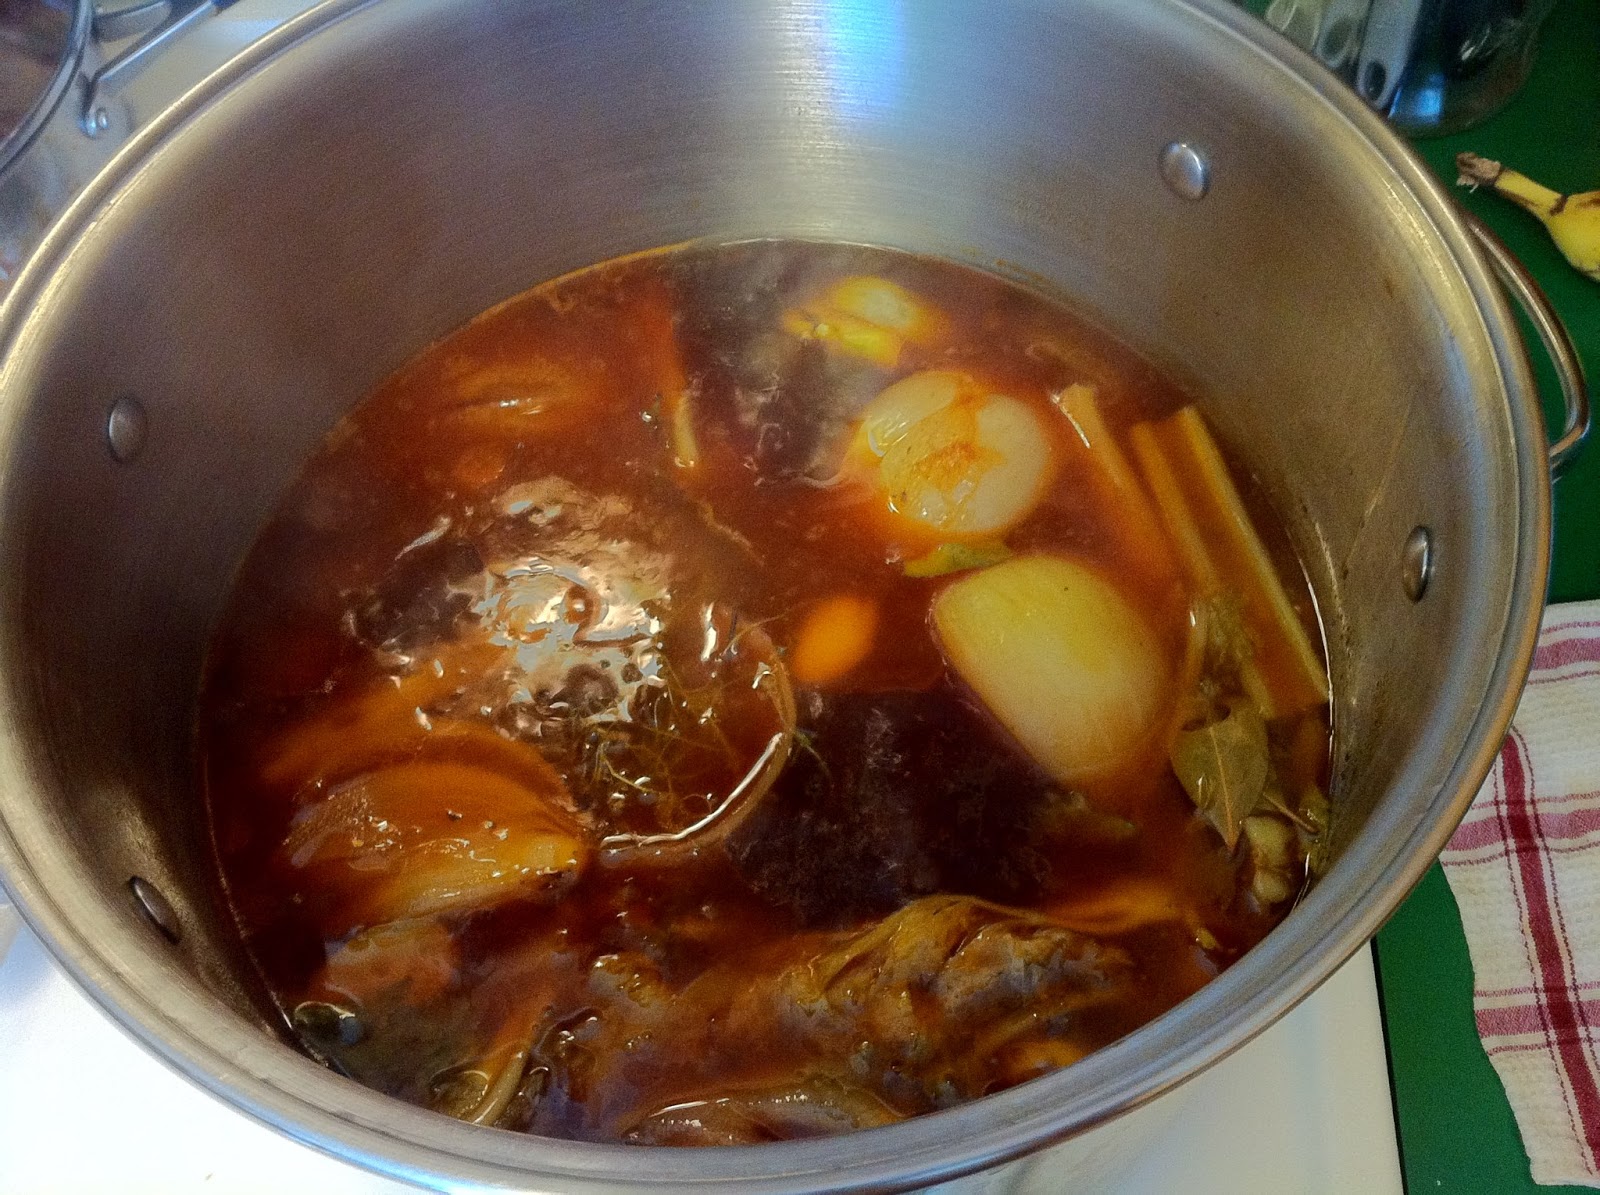
Here is a decision point for you – add or do not add water lost during the simmering. There are two schools of thought here. Adding water to make up for loss will increase your stock yield, but result in a lighter (less bold) stock. Not adding water will result in a darker bold stock. Either is fine in my opinion because if it is too bold you can cut it with water when you use it, and if it is too lite you and reduce it when you use it. I choose the bold method because it cuts down on the amount of freezer storage space required. If I had a bigger freezer I would probably make it a bit lighter.
After simmering for at least 6 hours you need to flash cool the stock. This is important for sanitation reasons. If you just take the stock off the heat and let it cool naturally, the stock will be in food temperature danger zone (40-140 F) for an extend period of time. I have two methods of flash cooling. In the summer I place the pot (uncovered) into an ice bath in the kitchen sink, and usually change the ice bath water at least once (after about 30 min). In the winter I just put it outside – in snow if available). My last batch we had no snow, but the temperature outside was in the single F digits, so it was fine!
After you have flash cooled to at least room temperature, you want to do your first straining. In this first straining you are only removing the big chunks so you can do this through a medium mesh metal strainer or colander. You can also just use tongs to pick out everything that is packable. I recommend the course strain - it is not a vital step at this time, but it makes the next day easier.
Once the initial training is done cover the stock and set it in refrigerator (summer) or in a non-heated but not frozen garage or porch (winter), and let it rest overnight. Be careful about putting it outside to cool and rest for extended periods. Where I live raccoons and coyotes make overnight outdoor storage a bad choice. If you want to use the outside for overnight and are concerned about animals, consider putting it in your car – it’s covered and won’t stink the car up.
The next day you will find a solidified layer of fat on top of the pot that is easily removed. You want to remove and discard most of this, but leaving a little behind is ok because you do not want your stock to be 100% fat free – Fat has flavor!


After the excess fat has been removed, it is now time to start the real straining. Before you strain I recommend reheating the stock to just about 100 degrees to melt and redistribute the remaining fat back into the stock (fat has flavor and adds the silky texture so you want some to remain). I do my first strain through four layers of cheese cloth. You need to be patient as the cheese cloth does plug up and may need to be changed during the process. It is during this straining that you are going to remove A LOT of nasty slimy gunk.

You’re almost there! After the first pass through cheese cloth, strain the stock a second time through four layers of cheese cloth. I usually find that this pass through the cheese cloth is enough (and it does not plug up), but if you are still seeing too many particulates for your liking, you can repeat cheese cloth straining as many times as you wish.


After the excess fat has been removed, it is now time to start the real straining. Before you strain I recommend reheating the stock to just about 100 degrees to melt and redistribute the remaining fat back into the stock (fat has flavor and adds the silky texture so you want some to remain). I do my first strain through four layers of cheese cloth. You need to be patient as the cheese cloth does plug up and may need to be changed during the process. It is during this straining that you are going to remove A LOT of nasty slimy gunk.
You’re almost there! After the first pass through cheese cloth, strain the stock a second time through four layers of cheese cloth. I usually find that this pass through the cheese cloth is enough (and it does not plug up), but if you are still seeing too many particulates for your liking, you can repeat cheese cloth straining as many times as you wish.
Your stock is complete and ready for use and/or storage. I typically store mine in doubled 1 quart freezer bags containing 1 or 2 cups each (I mix it up). I find using the freezer bag storage method to be space efficient as you can lay them flat and stack them in the freezer. One and two cup plastic containers available at most grocery stores is also a great option.
Now you have a bold beef stock ready to be turned into French Onion Soup, which will be the topic of my next post!
No comments:
Post a Comment